When not properly sealed or waterproof, your tiled leaky balcony can create a lot of issues that can severely damage your household foundation. A leaky balcony situated above rooms can lead to a multitude of mold and mildew issues. Water ingress through cracked tiles and missing grout can extensive water damage to the interior and foundation of your home. In addition to this, they can also result in peeling of paint, structure damages, damp and many more which can be expensive to fix. These issues occur due to failure of waterproofing membrane or lack of waterproofing practices on decks and balconies.
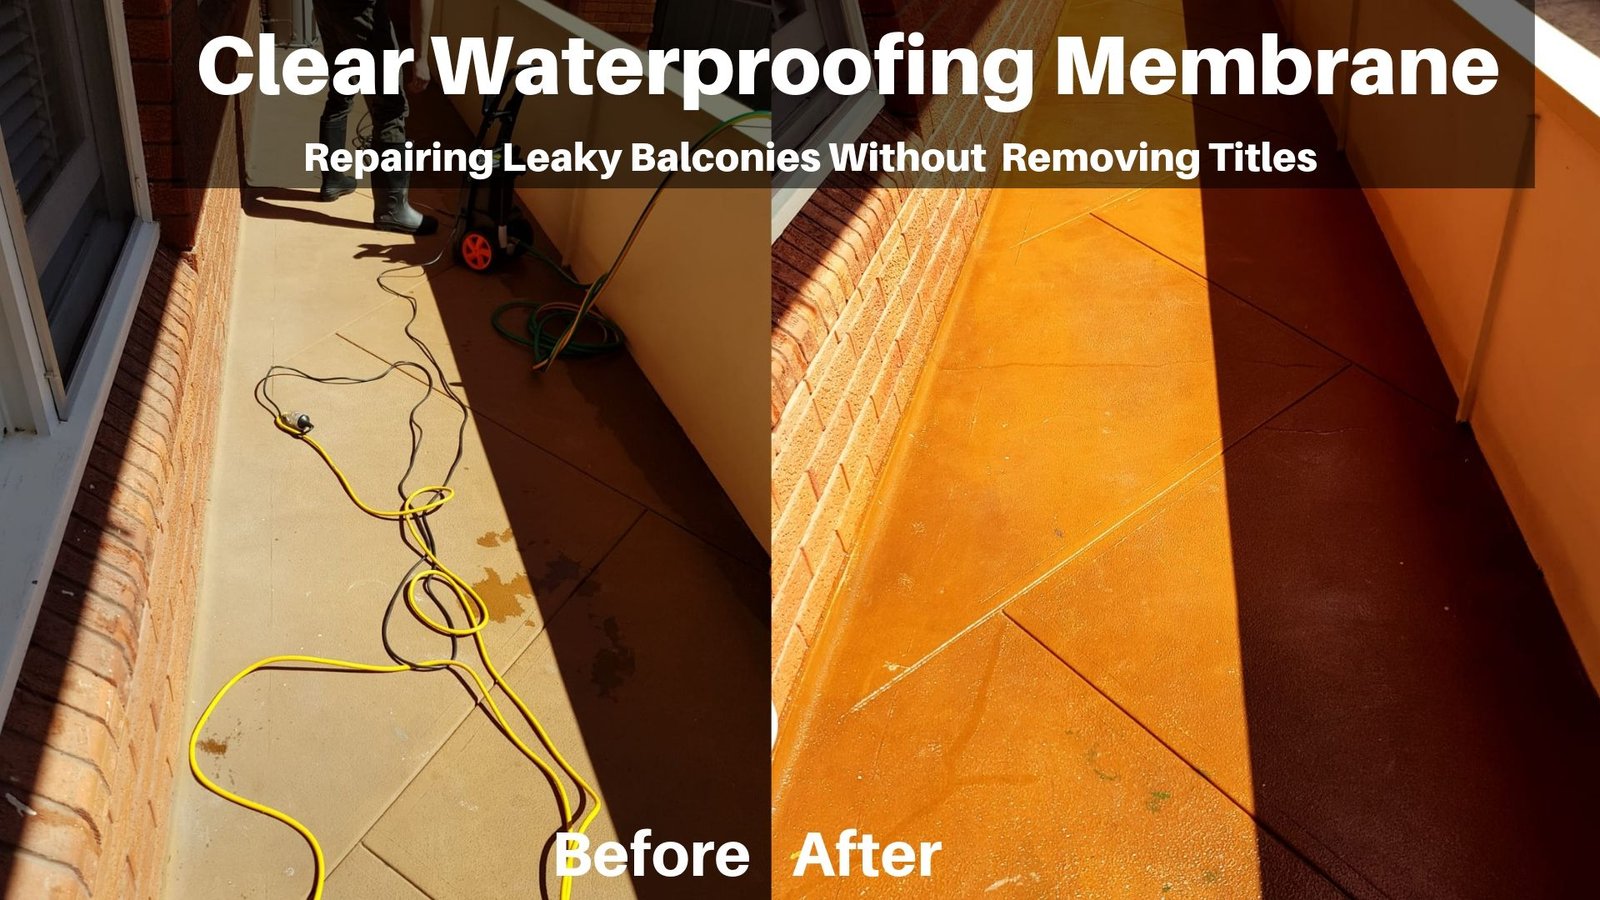
But the tiles are in good condition, why remove good tiles to get to a failed membrane? Why not install a clear membrane over your tiles making your balcony watertight? Some people who only think of one option when they encounter a leaky balcony- replacing or redoing the tiles. However, this method can cost tens of thousands of dollars and as the movement is coming from the foundations of the home there is no reason why they won’t return in the future. Clear Waterproofing Membrane is an easy to apply, cost-effective and less time-consuming method to waterproof your tiled decks and balconies. You can buy Clear Waterproofing Membrane kit and DIY leaking balcony repair by yourself, following the step-by-step instructions given below:
This complete DIY leaky balcony repair program is divided into four parts.
1. Inventory
In order to start the waterproofing process, you need a Clear Waterproofing Membrane Kit including Clear Waterproofing Membrane part 1 & 2, paint brush, Soudol joint adhesive, slip resistant aggregate. In addition to this, you will require a knife, scraper, nap roller, matching grout, cleaning agent and caulking gun.
2. Cleaning
When you are done with purchasing the inventory, ready the balcony area for the waterproofing process. You need to clean the balcony surface to kill the mold and mildew. Clean thoroughly the balcony using a cleaning agent chlorine is a preference if mold is present otherwise hydrochloric acid is suggested for external areas. Wet the surface entirely. Then you can mix dilute the cleaning agent by mixing 1 part of the cleaning agent with an equal part of water. Then, spray it evenly on the surface and leave it for a few minutes. Using a scrubbing brush go over the surface and then rinse the surface thoroughly ensuring it is completely removed otherwise it will react to the membrane. Remove any excess water and allow it to dry.
3. Preparation
Prepare your clean and dry balcony area for seamless application of waterproofing membrane. Start with checking the balcony area attentively for any missing or loose grout. Replace any missing grout with a close color match. If there is any loose grout, tap on that particular tile and check if it comes out easily. If yes, take it out apply some recommended joint adhesive under the tile and re-adhering it. Allow the grout to dry for the recommended time on the packaging before applying the membrane.
Wait 2 days dry time minimum
4. Application
Before starting the membrane application vacuum the surface. Ensure it is 100% clean and dry prior to application. Then, apply the recommended joint adhesive to all the junction of the balcony this can be applied to existing silicone if it is still in good condition. Remembering to check the undersides of doors for gaps if the flashing has not been installed.
If you have timber frame use a plastic scrapper and flatten the joint adhesive over the grout joints allowing for lateral flexibility.
Prepare the mixture by mixing of Clear Waterproofing Membrane part 1 & 2 and stir it well until a thick solution formed. Now, take some mixture out in a painting tray and start applying the first coat of the membrane with a nap roller. Let the surface dry.
Apply 2 coats of the membrane around the perimeter approx 100mm up the wall and 100mm in from the wall.
Apply the infill coat using a nap roller being use to overlap over the dried and clear perimeter coats.
Check and ensure the surface is dry, then mix the slip resistant aggregate in the remaining mixture and apply the second coat the same as the first one. However, make sure to stir the mixture after frequent intervals to prevent the aggregate from settling down at the bottom of the container.
You can apply one or two more coats if you are left with some mixture. There is no limit of how many numbers of coats are required to be applied on the surface, you can apply as many as the coat you feel will be enough with a minimum of 2 and make sure you do not extend the membrane applications past the 3m2 per 1L.
Get your balcony and deck areas properly sealed and waterproofed with Clear Waterproofing Membrane. Follow this waterproofing program to DIY leaking balcony repair by yourself and solve your leaky balcony and decks issues permanently.